
Gas compressor station model for an exhibition
A client approached us with the task of producing an exhibition model of a gas compressor station.
It was a complex industrial model with a large number of small pipes, valves, fans, and technical elements. Dimensions: 600x400x350 mm.
The client provided one large 3D model as the base, which needed to be:
- prepared for 3D printing
- divided into parts
- printed
- painted
- assembled
- mounted on a base
- covered with an acrylic protective cover
All of this – in just 3 weeks, so that the finished exhibition model could be presented at the event.
Stage 1. Preparing the 3D model for printing
This is the STEP format 3D model we received from the client.
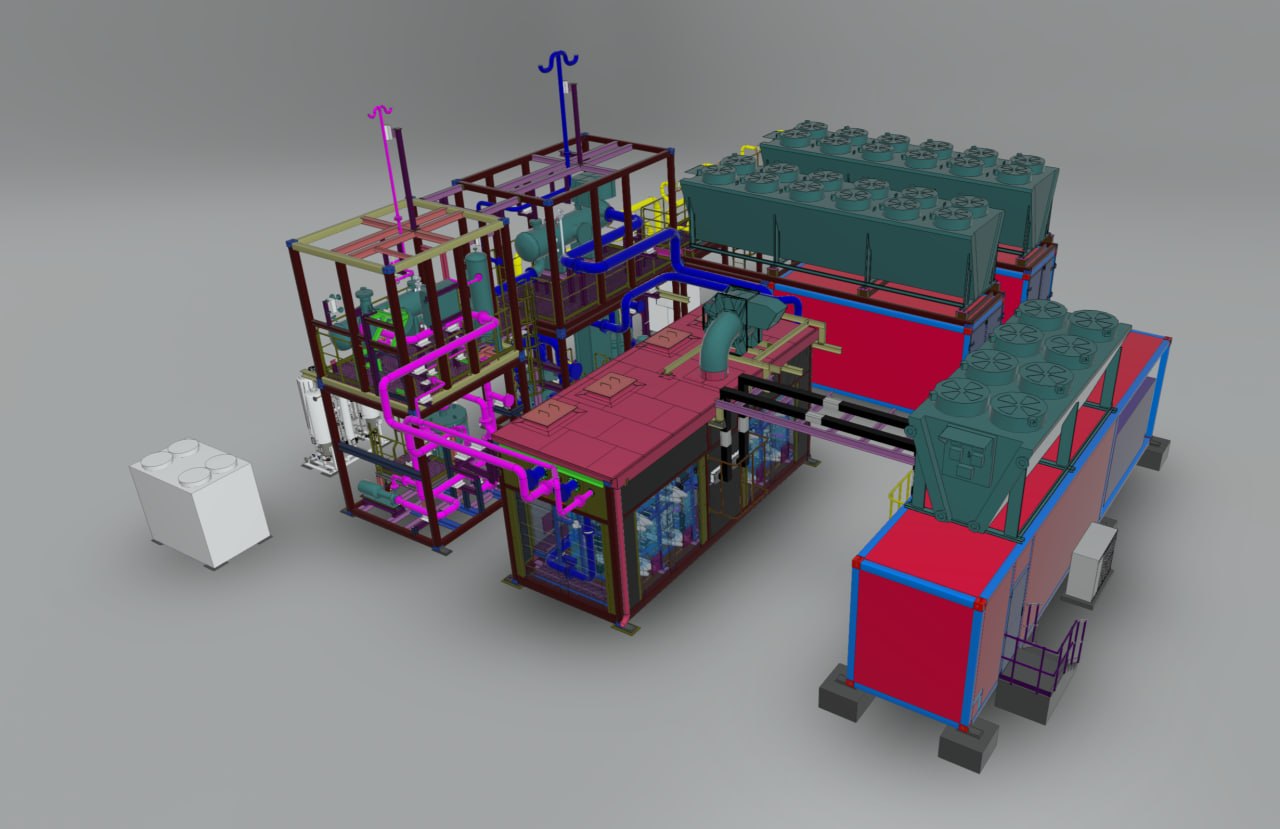
Next, our team began preparing the model for production:
- we divided the model into printable segments
- we corrected geometry errors
- we remodeled poorly modeled elements
- we remodeled some parts from scratch
As a result, the entire model was divided into more than 200 individual elements.
Stage 2. 3D printing of the model parts
Most of the model parts were manufactured using SLA 3D printing from photopolymer resin, which allowed for high detail.
Some of the larger elements were printed using FDM technology from plastic.
This approach made it possible to optimally combine:
- detail
- production speed
- manufacturing cost


Stage 3. Sorting and checking the elements
After printing, all elements of the model were sorted into individual blocks and buildings.
Each group of parts underwent inspection for:
- completeness
- print quality
- compliance with the 3D model
Missing elements were reprinted.


Stage 4. Sanding and painting
In parallel with the third stage, a large-scale sanding process began. Resin is an ideal material for models, but this technology leaves many support marks. Each part had to be carefully sanded to look as high-quality, smooth, and realistic as possible.
After sanding, the parts were sent for painting, and then underwent re-inspection and sorting.

Stage 5. Gluing
After the preparation of the parts was completed, one of the most labor-intensive stages began – assembly and gluing.
Following the original 3D model:
- element by element
- block by block
We assembled the entire gas compressor station model.


Stage 6. Base and positioning
For the final assembly, we made a special base from MDF board.
We applied a texture imitating a concrete surface to it – this added even more realism to the model. Then, precise marking and positioning of all elements were performed.


Stage 7. Acrylic protective cover
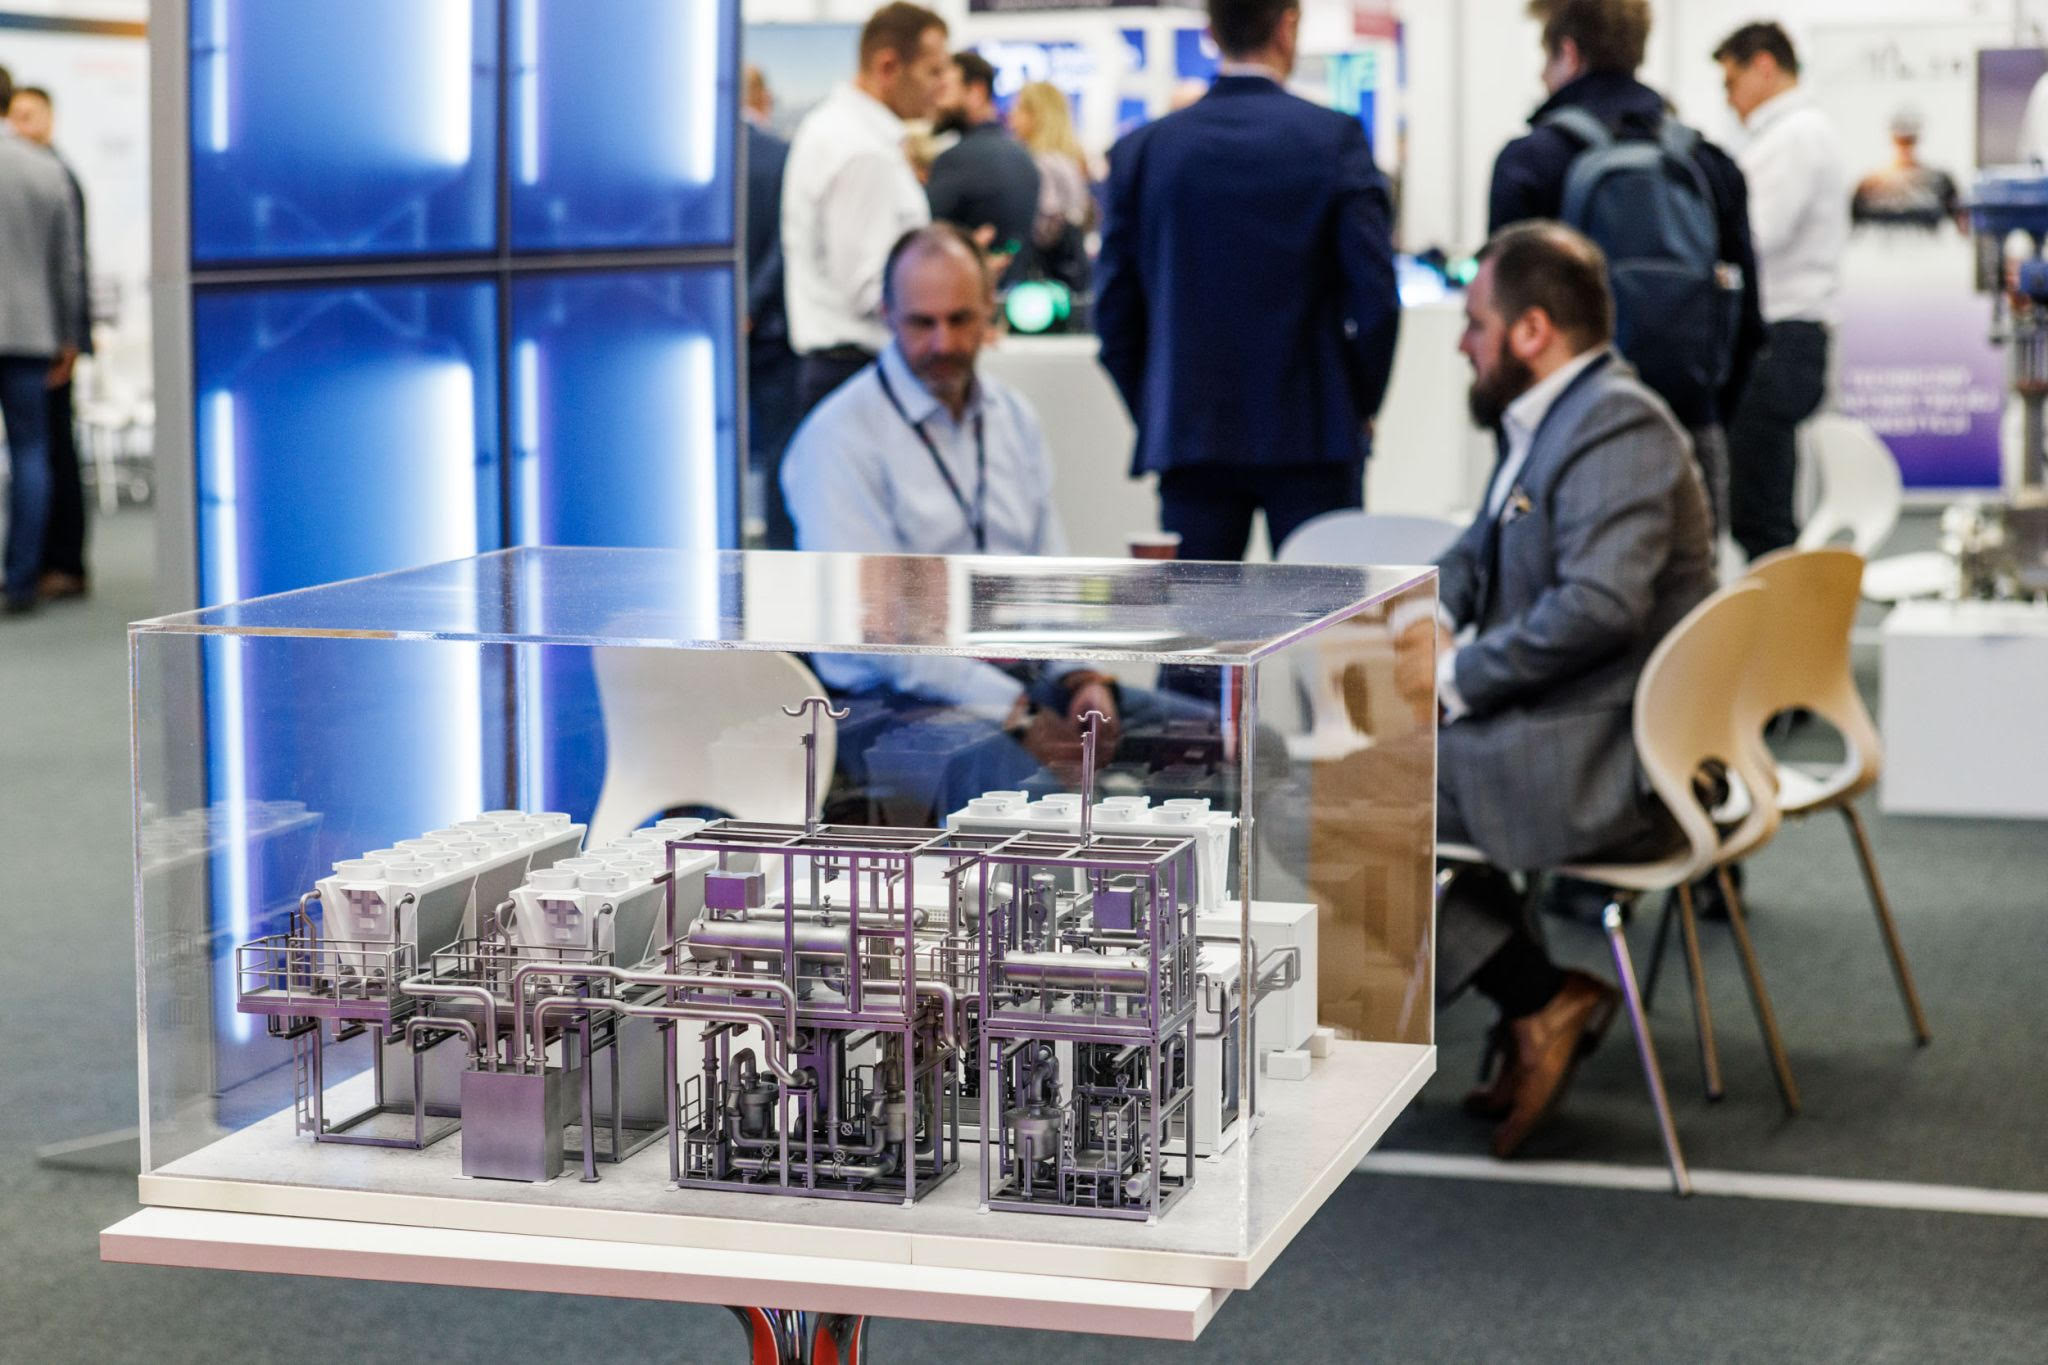
To protect the model at the exhibition and during transport, at the client's request, we ordered a special protective cover made of 3 mm thick plexiglass.

Stage 8. Final result
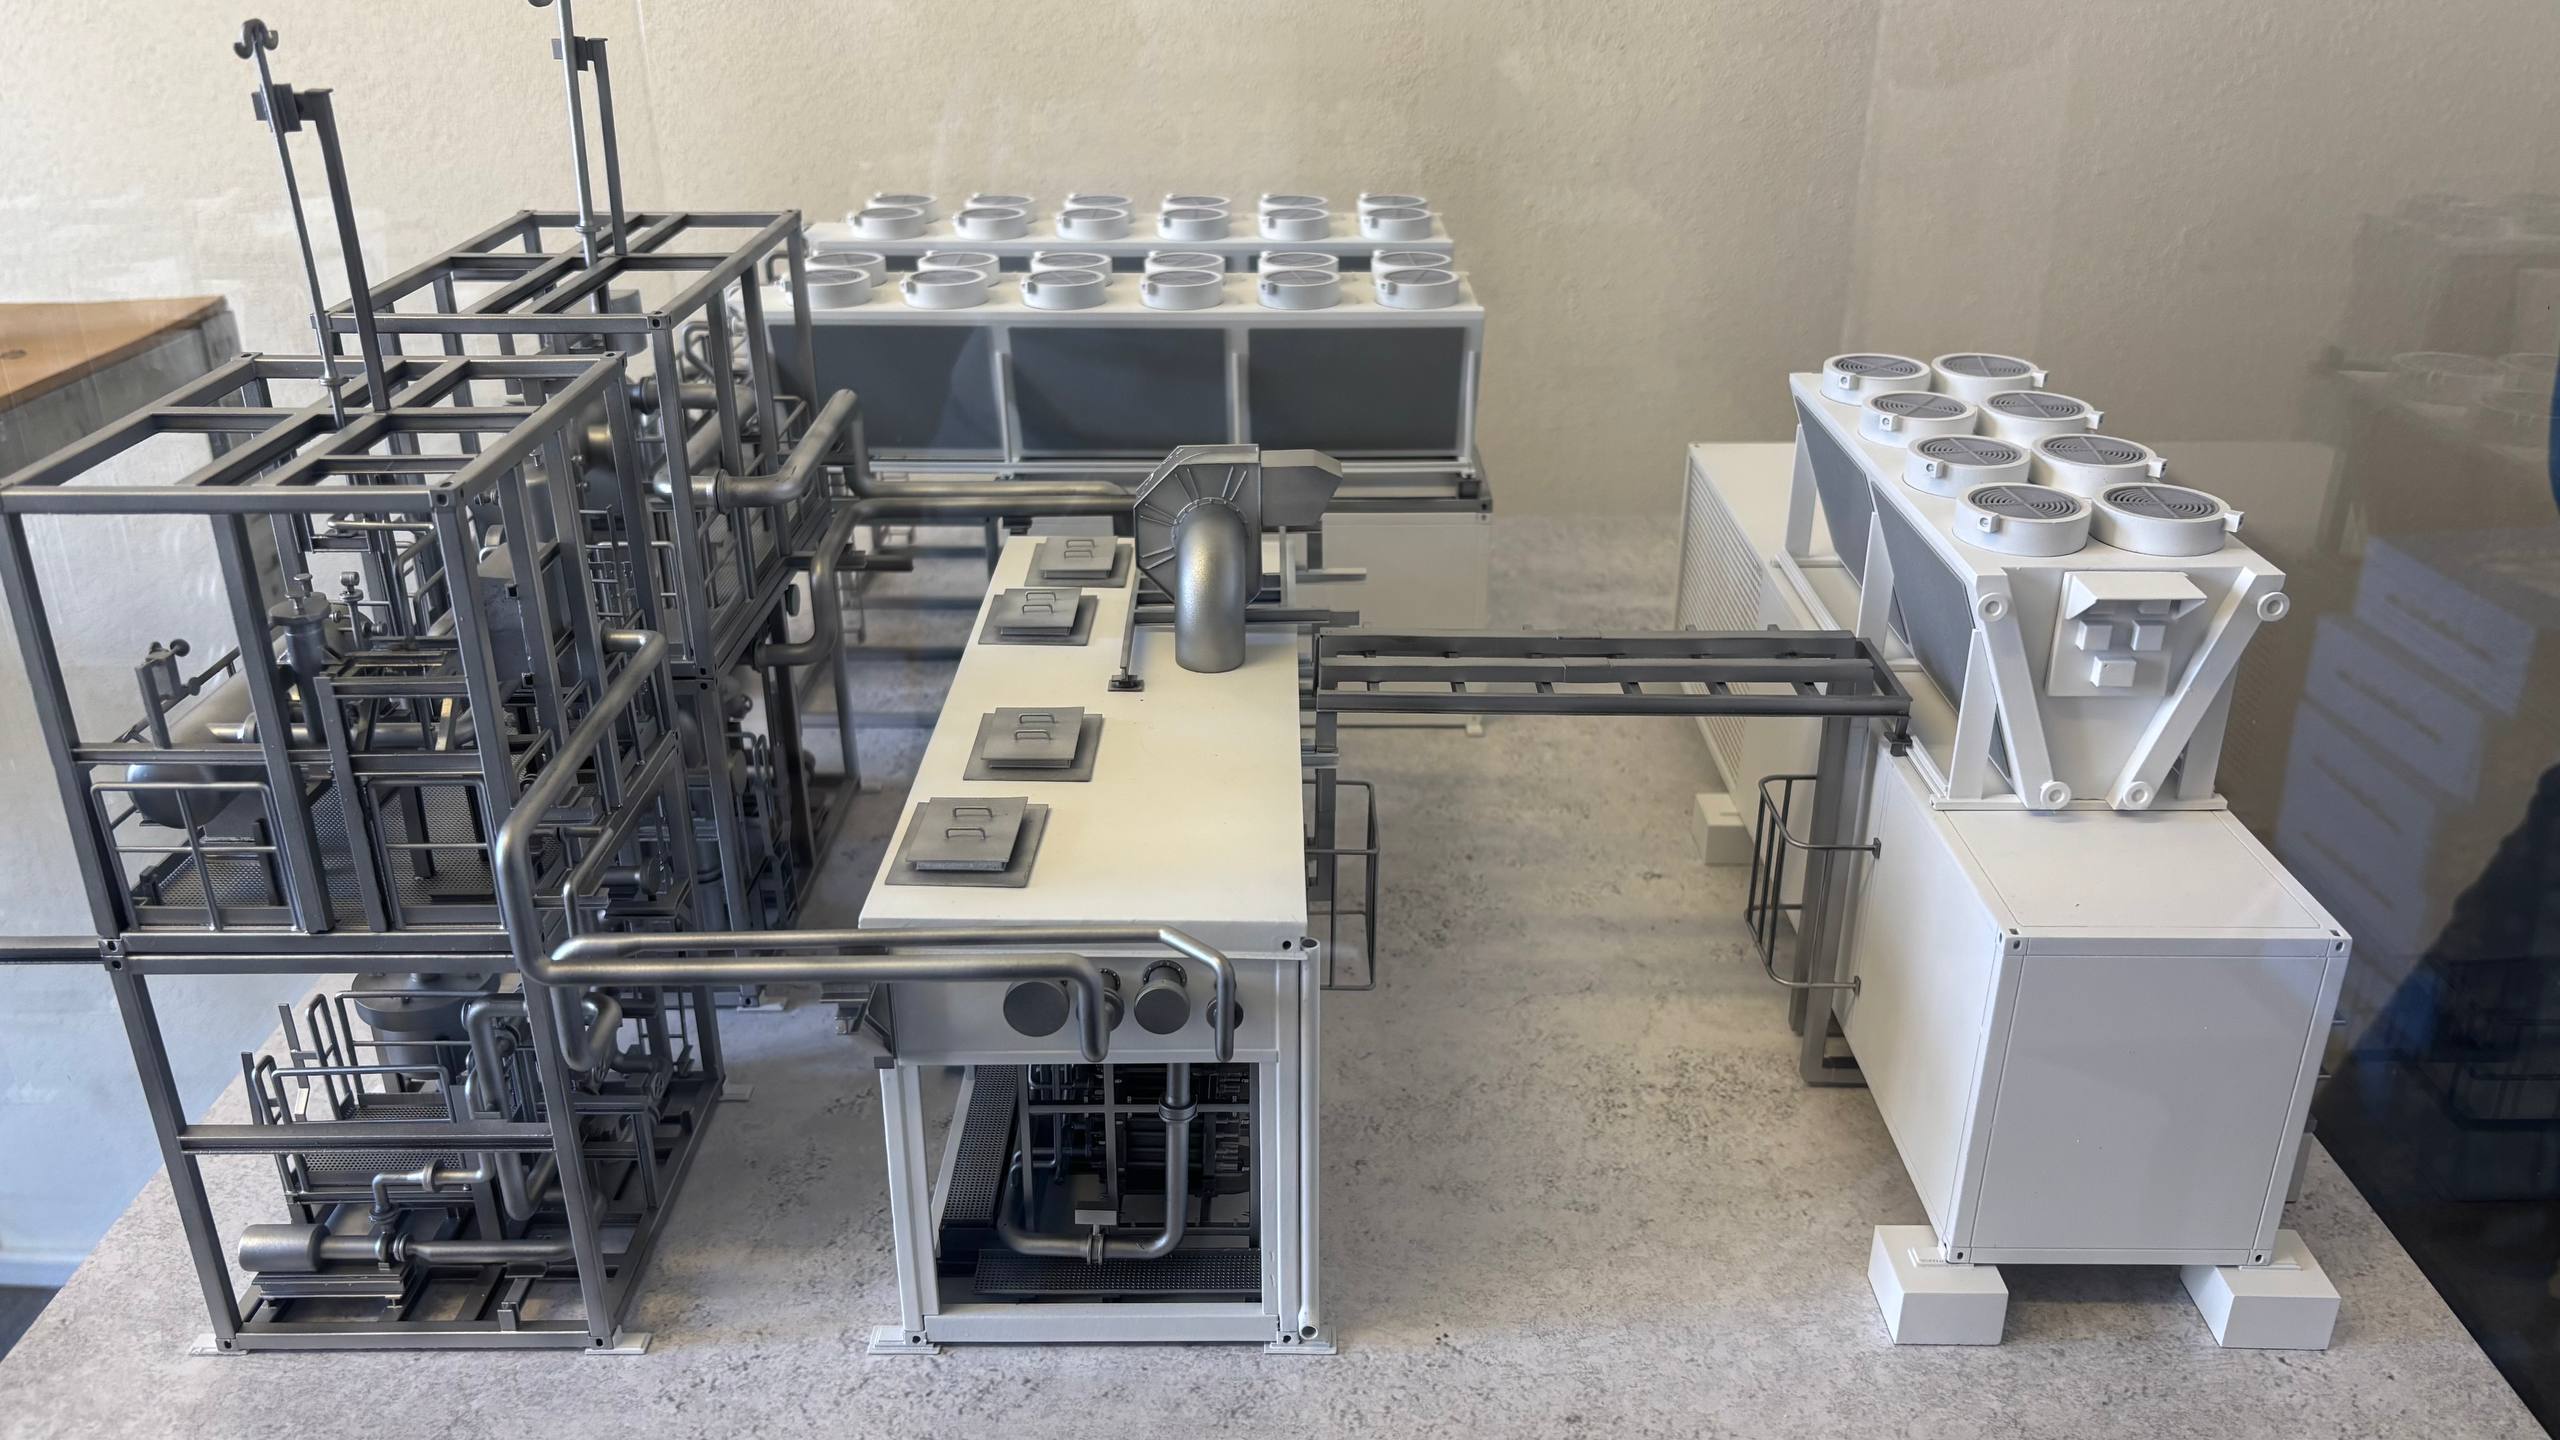
As a result, the client received a fully finished industrial model, prepared for transport and presentation at the exhibition.
The project was successfully delivered to another city, and the client was satisfied with the result.
If you need models of industrial facilities, scenography elements, or exhibition stands – contact us.
OTHER PROJECTS
Our contacts


Still have questions?
Fill in the form below and a member of our team will be in touch with you within 15 minutes
🛈 Large files can be sent with a link to the cloud
© 2026, Studio 3d Time